
QuickBooks Desktop is being phased out for new purchases, and a lot of businesses and firms are migrating to QuickBooks Online whether they'd planned to or not. Intuit's built-in conversion tool handles the heavy lifting, but it doesn't always move everything cleanly — and the gaps are exactly where "quick migration" turns into a multi-day cleanup project. This checklist walks through the full process, including the parts that don't get talked about enough.
Before You Start: Set Expectations
Intuit's conversion tool will move your chart of accounts, customers, vendors, and most transaction history automatically. What it doesn't always handle cleanly:
- Custom reports and memorized report templates
- Some transaction types and custom fields
- Inventory data, depending on your QuickBooks Online plan
- Certain third-party app integrations tied to Desktop
Knowing this upfront changes the plan from "run the tool and hope" to "run the tool, then audit specifically for these gaps."
Step 1: Prepare Your Desktop File
- Run a full backup of your QuickBooks Desktop file before starting anything — this is your safety net if the conversion needs a second attempt.
- Condense or clean up the file if it's large. Very large files can hit conversion size limits or take significantly longer to process.
- Reconcile all accounts in Desktop first. Migrating a file with unreconciled accounts means you're troubleshooting two problems (reconciliation and migration) at once instead of one.
- Note your current report customizations. You'll likely need to rebuild memorized/custom reports manually in QuickBooks Online — screenshot or export them now while they're still accessible.
Step 2: Run the Standard Conversion
Use Intuit's built-in QuickBooks Desktop to Online conversion tool (accessible from within QuickBooks Desktop, under Company > Export Company File to QuickBooks Online). This handles the bulk of the move — chart of accounts, lists, and transaction history — automatically.
Conversion time varies by file size; larger files with years of history can take a while, so don't run this against a deadline with zero buffer.
Step 3: Audit What Didn't Come Over Cleanly
Once the conversion finishes, work through this checklist before you consider the migration done:
- Open invoices and bills — confirm balances match what you had in Desktop
- Inventory — check quantities and values if you track inventory (this is one of the more common trouble spots)
- Bank and credit card reconciliation status — confirm your last reconciled date and balance carried over correctly
- Custom transaction types — anything Desktop-specific that didn't map to a standard QuickBooks Online transaction type
- Classes and locations — confirm these carried over if you used them for reporting
- Attached documents/receipts — these sometimes don't transfer and may need to be re-attached
- User permissions and roles — QuickBooks Online's permission structure differs from Desktop's, so this needs to be rebuilt, not just copied
- Connected apps and integrations — anything tied to your Desktop file will likely need to be reconnected to the new QuickBooks Online company
Step 4: Bulk-Fix or Bulk-Import What's Missing
For anything that didn't come over cleanly — a batch of missing invoices, a set of transactions that need correcting, historical journal entries that need to be re-entered — this is where manually re-keying each one becomes a serious time sink. Instead:
- Export what's missing or incorrect to a spreadsheet (from your Desktop file or your own records)
- Clean and format it to match QuickBooks Online's expected fields
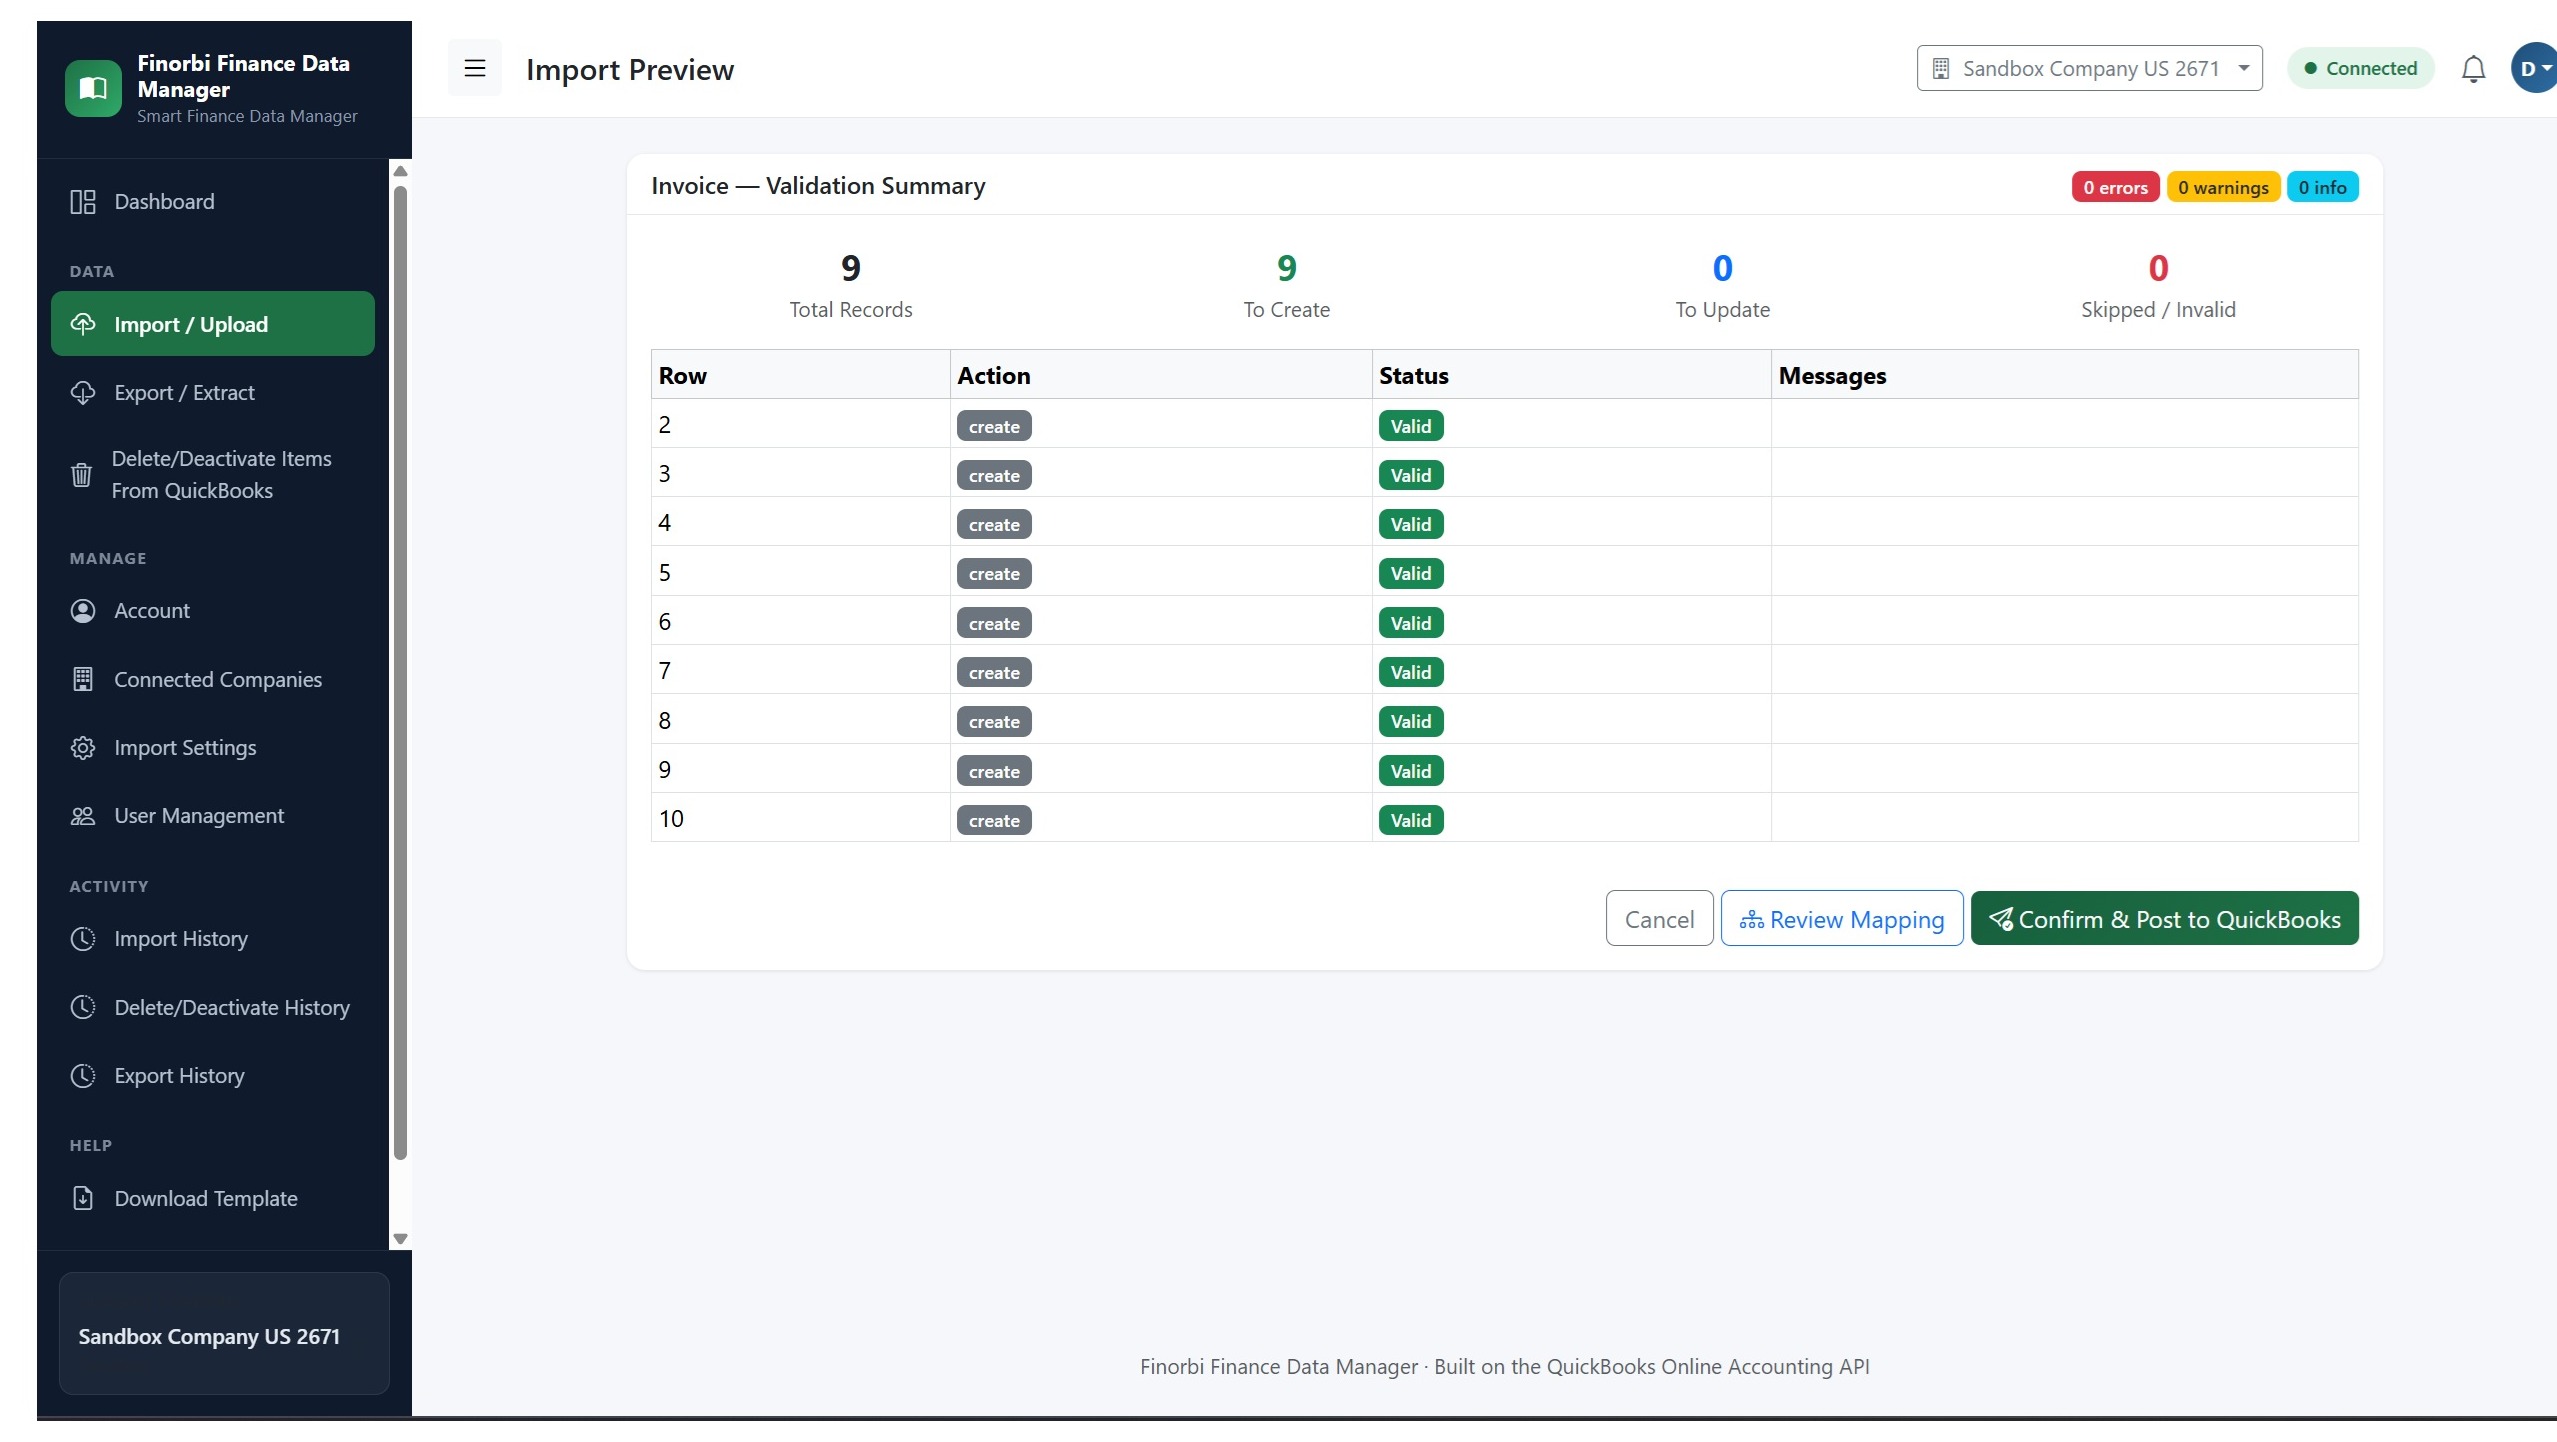
- Use a bulk import tool with live preview to validate every row against your new QuickBooks Online company before anything posts
- Import in batches by transaction type (invoices, then bills, then journal entries) rather than all at once, so any errors are easier to isolate
Step 5: Final Reconciliation
Once everything is in place, reconcile every bank and credit card account against your actual bank statements to confirm the ending balances match. This is the real test of whether the migration is complete — if balances match, you're in good shape; if they don't, you know exactly where to look.
Step 6: Run Parallel (Optional but Recommended for Complex Files)
For anything beyond a simple file, consider running Desktop and Online in parallel for a short period — enter a week or two of new transactions in both systems and compare outputs before fully cutting over. This catches mapping issues that don't show up until new activity flows through the system, not just historical data.
A Note for Firms Migrating Multiple Client Files
If you're a bookkeeping or accounting firm migrating several clients at once rather than a single company, the process above multiplies per client — which is exactly where manual re-entry becomes unsustainable. Firms handling batch migrations typically save the most time by standardizing their spreadsheet templates once and reusing the same bulk-import mapping across every client file, rather than treating each migration as a one-off project.